HelpDesk is a simple yet powerful ticketing system that allows you to turn your support emails into manageable tickets and gather them all in one system. The tool can help you improve your workflow and simplify your customer support tasks.
ChatBot lets you resolve popular customer questions by using automated responses. By integrating ChatBot and HelpDesk, you can make it possible for your customers to raise a HelpDesk ticket out of a chat every time the human touch is needed.
Start collecting support tickets from chatbot chats by using the HelpDesk integration.
How to integrate ChatBot with HelpDesk
-
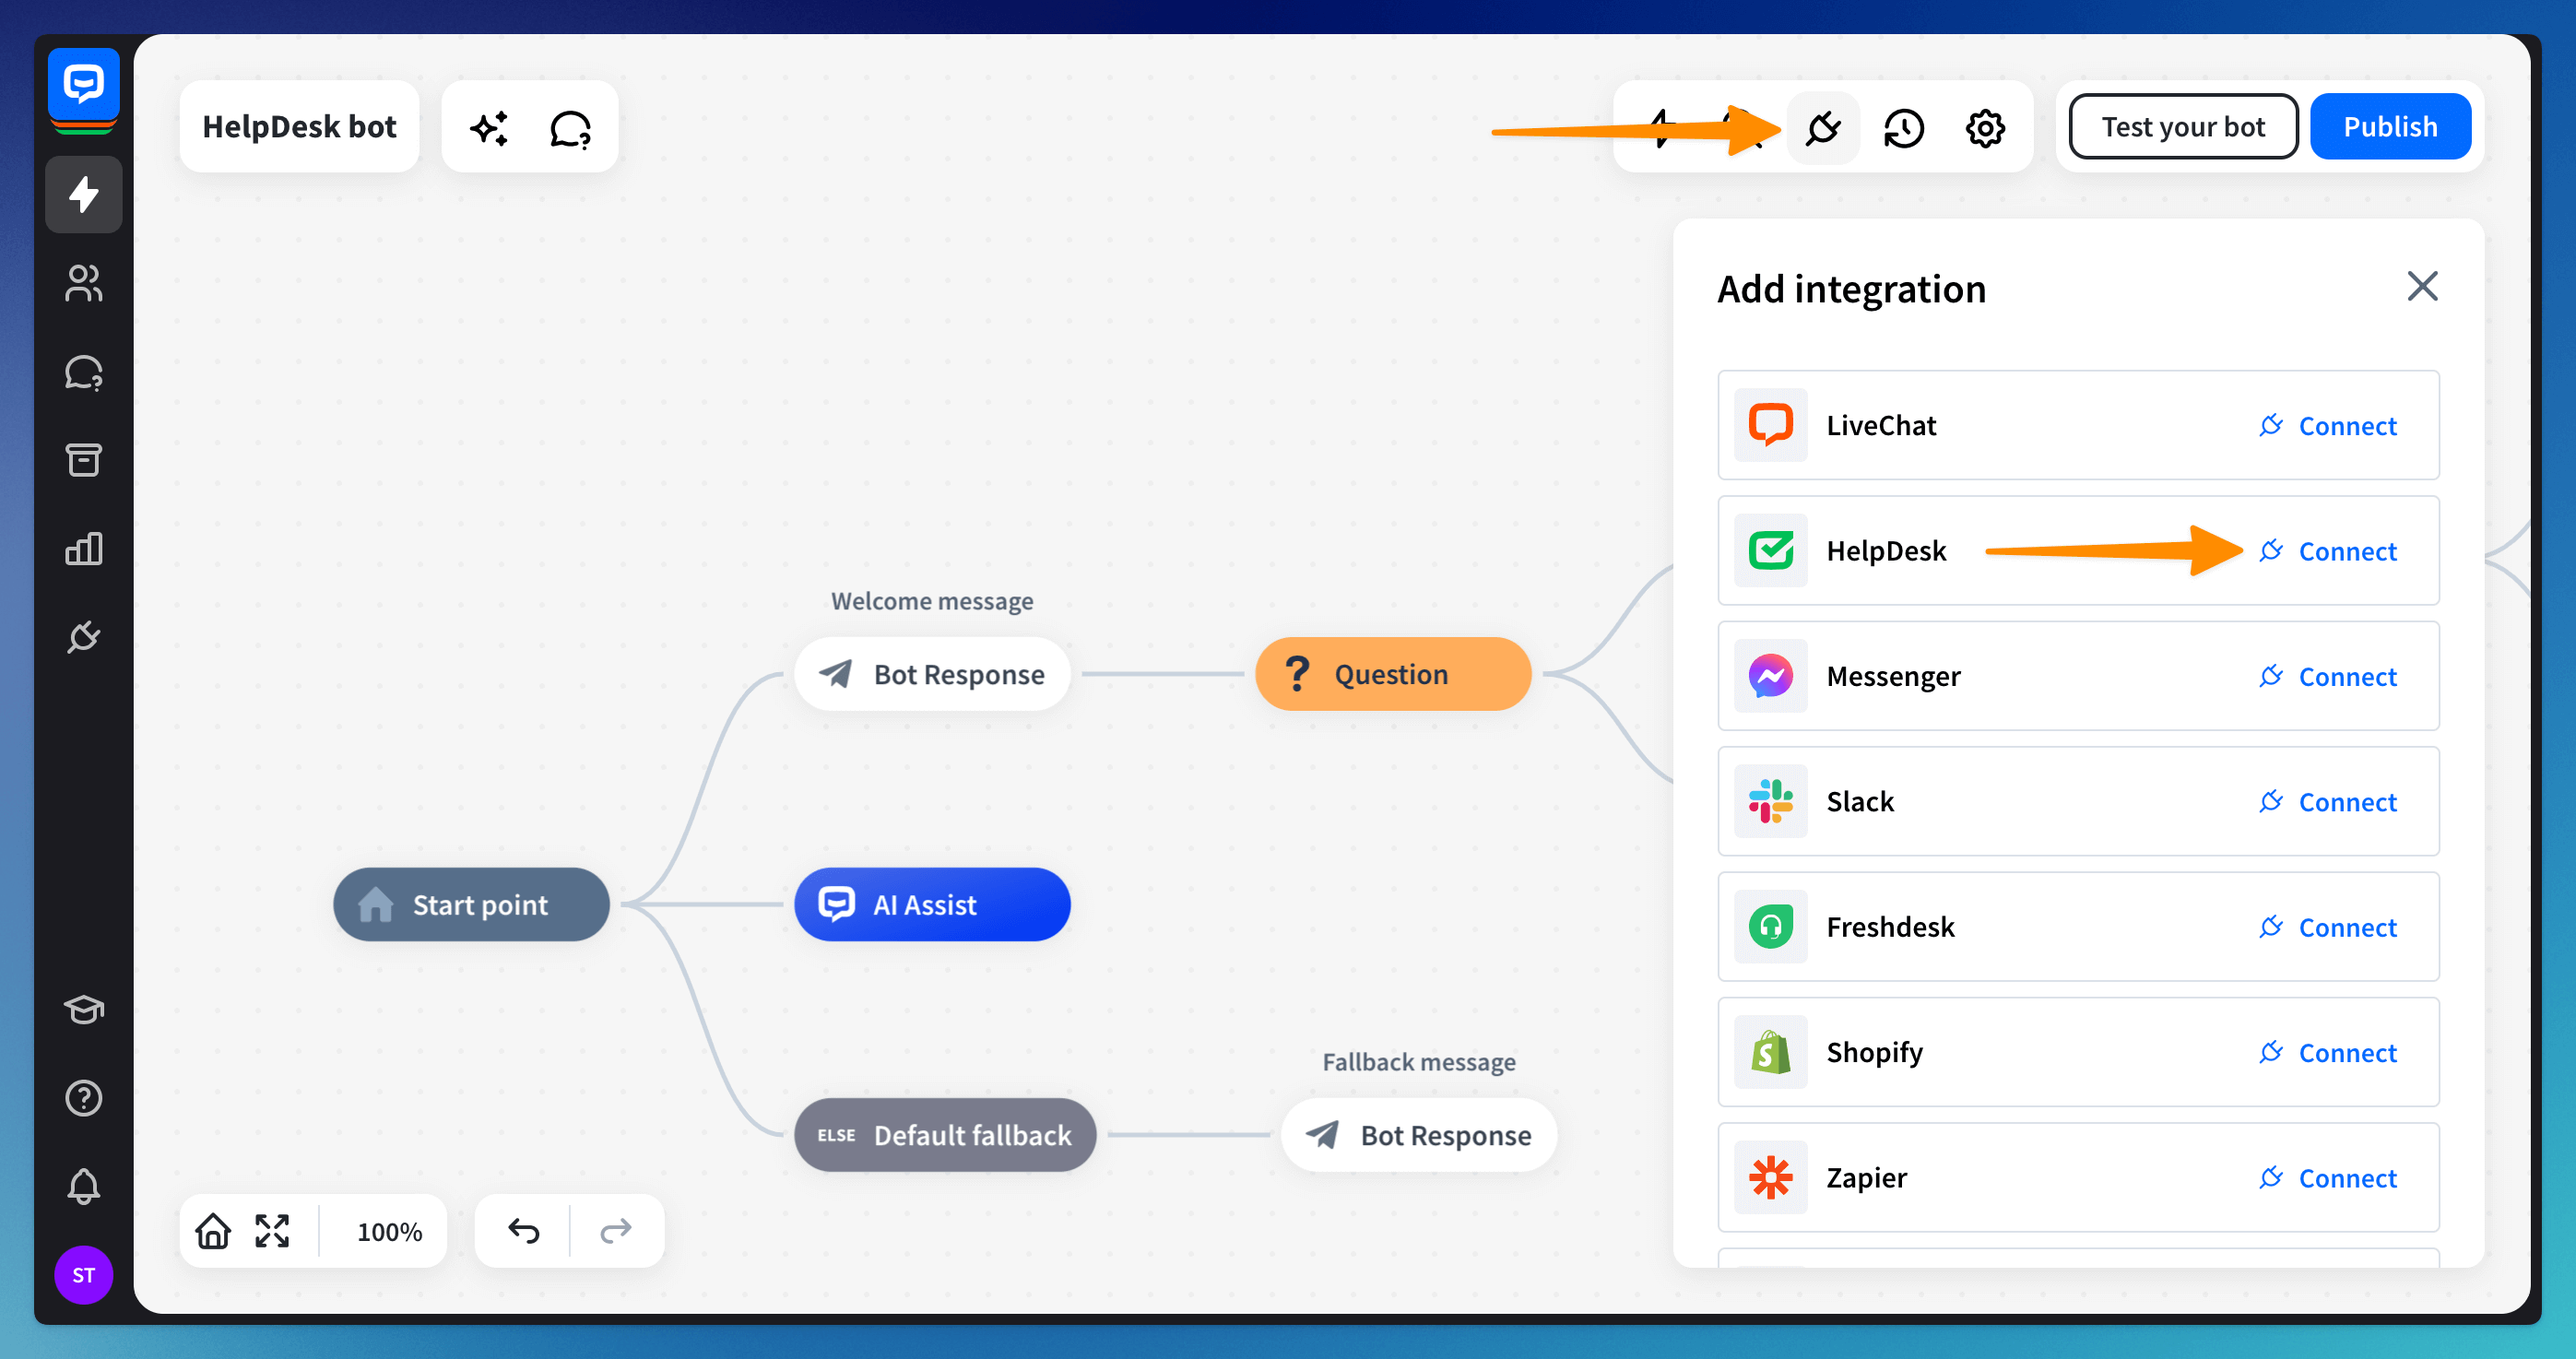
Go to your bot and open the Integrations panel. Choose HelpDesk from the list with the Connect button.
-
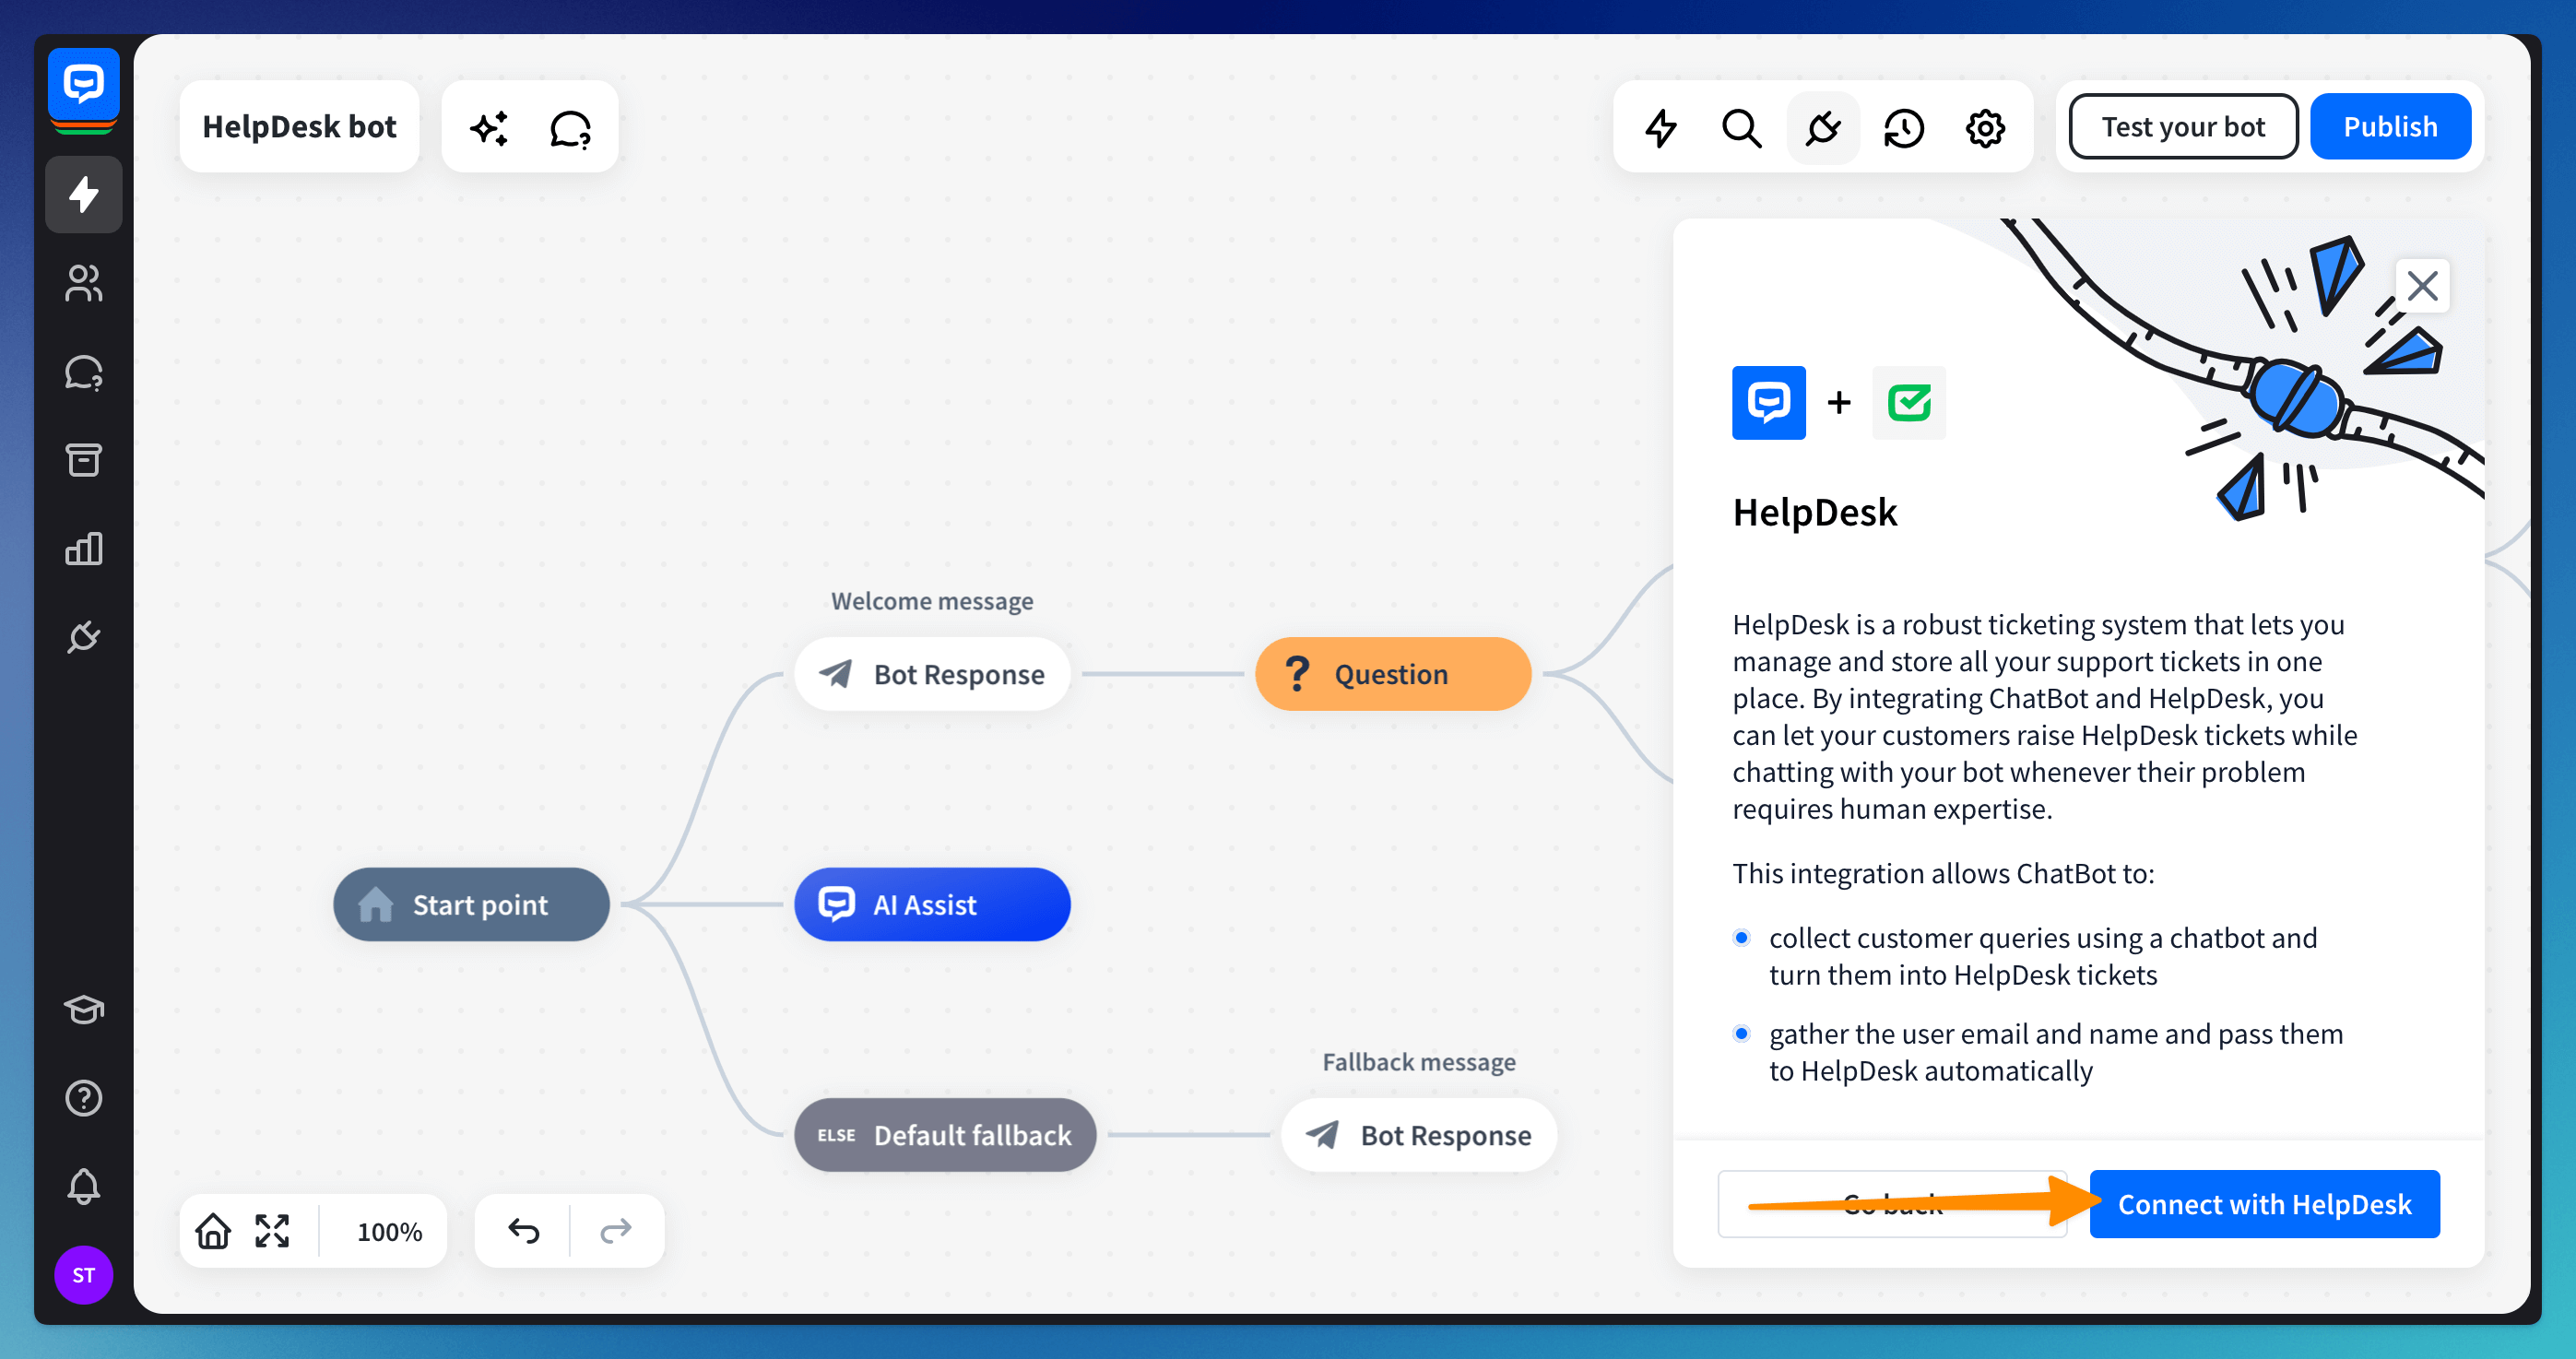
Click the Connect with HelpDesk button. You will be automatically logged in if you are already logged into the HelpDesk account.
If you do not have a HelpDesk account, the account will be automatically created with the same email address you have in ChatBot.
-
The active integration will be visible on the integrations list.
Create ticket action elements
You must use the Create ticket action for HelpDesk to allow users to leave a HelpDesk ticket when their problem requires human attention.
To correctly configure the Create ticket for HelpDesk action, you must collect user information before the block on the bot flow. You can use the Question action to gather multiple pieces of information at once.
The information will be saved as attributes. You can use the attributes in the HelpDesk action. We recommend using our default attributes in the bot flow.
You must fill in all the required fields to create the ticket correctly. You can check the fields and fill them in after you are logged in to your HelpDesk account. They are visible when you click the block.
-
Subject - the ticket title visible in the HelpDesk app
-
Requester name - an attribute collected in the bot flow before the Create ticket action was triggered; the user’s name will be saved in the Requester Details field in HelpDesk - the messages from the user will be displayed with this name
Ensure you use the same attribute as you collect in the bot. We recommend leaving our native Name attribute.
-
Email - an attribute collected in the bot flow before the Create ticket action was triggered; the email address will be saved in the Requester Details field in HelpDesk - your response will be sent to that email address from HelpDesk
Ensure you use the same attribute as you collect in the bot. We recommend leaving our native Email attribute. -
Tags - tags that are automatically added to your tickets in HelpDesk when the bot creates the ticket
-
Priority - set the priority the ticket will be displayed with so you know how to organize your work; by default, the priority is set to Medium
-
Description - the main issue description the user comes to you with; is visible in the main ticket view in the HelpDesk app
How to configure the Create ticket action
When you are sure you have collected all the information you need to complete the Create ticket action, you can start configuring the block itself.
Drag the Create ticket action to the bot flow and open it. Change the form to match your needs:
- ticket title in the Subject field. You have two options:
- default subject copy - the same title displayed in HelpDesk whenever a ticket is created through your chatbot
- custom subject attribute - if asked the user about a short issue description earlier in the bot flow and saved their response as a custom subject attribute.
- In the Requester Name field, leave the default attribute or add a custom attribute you created to collect the user’s information.
- as in the Name field, in the Email field, leave the default attribute or add a custom attribute.
- Choose a tag for tickets created by your chatbot in the Tags field.
- Select the priority for tickets coming from ChatBot in the Priority field.
- Decide if you want to include a chat transcript in the ticket view in HelpDesk.
- In the Description field, add a custom description attribute or provide a fixed ticket description.
![]()
How to include LiveChat transcript in the HelpDesk ticket
Sometimes, the ticket description and included attributes are not enough for the support agent to know what the customer needs. For such cases, you can include the chat transcript in the ticket.
Your agent will be able to see the whole chat with the bot in HelpDesk.
![]() Including the transcript is disabled by default (1). Including the chat transcript disables the Description field (2) in the action configuration.
Including the transcript is disabled by default (1). Including the chat transcript disables the Description field (2) in the action configuration.
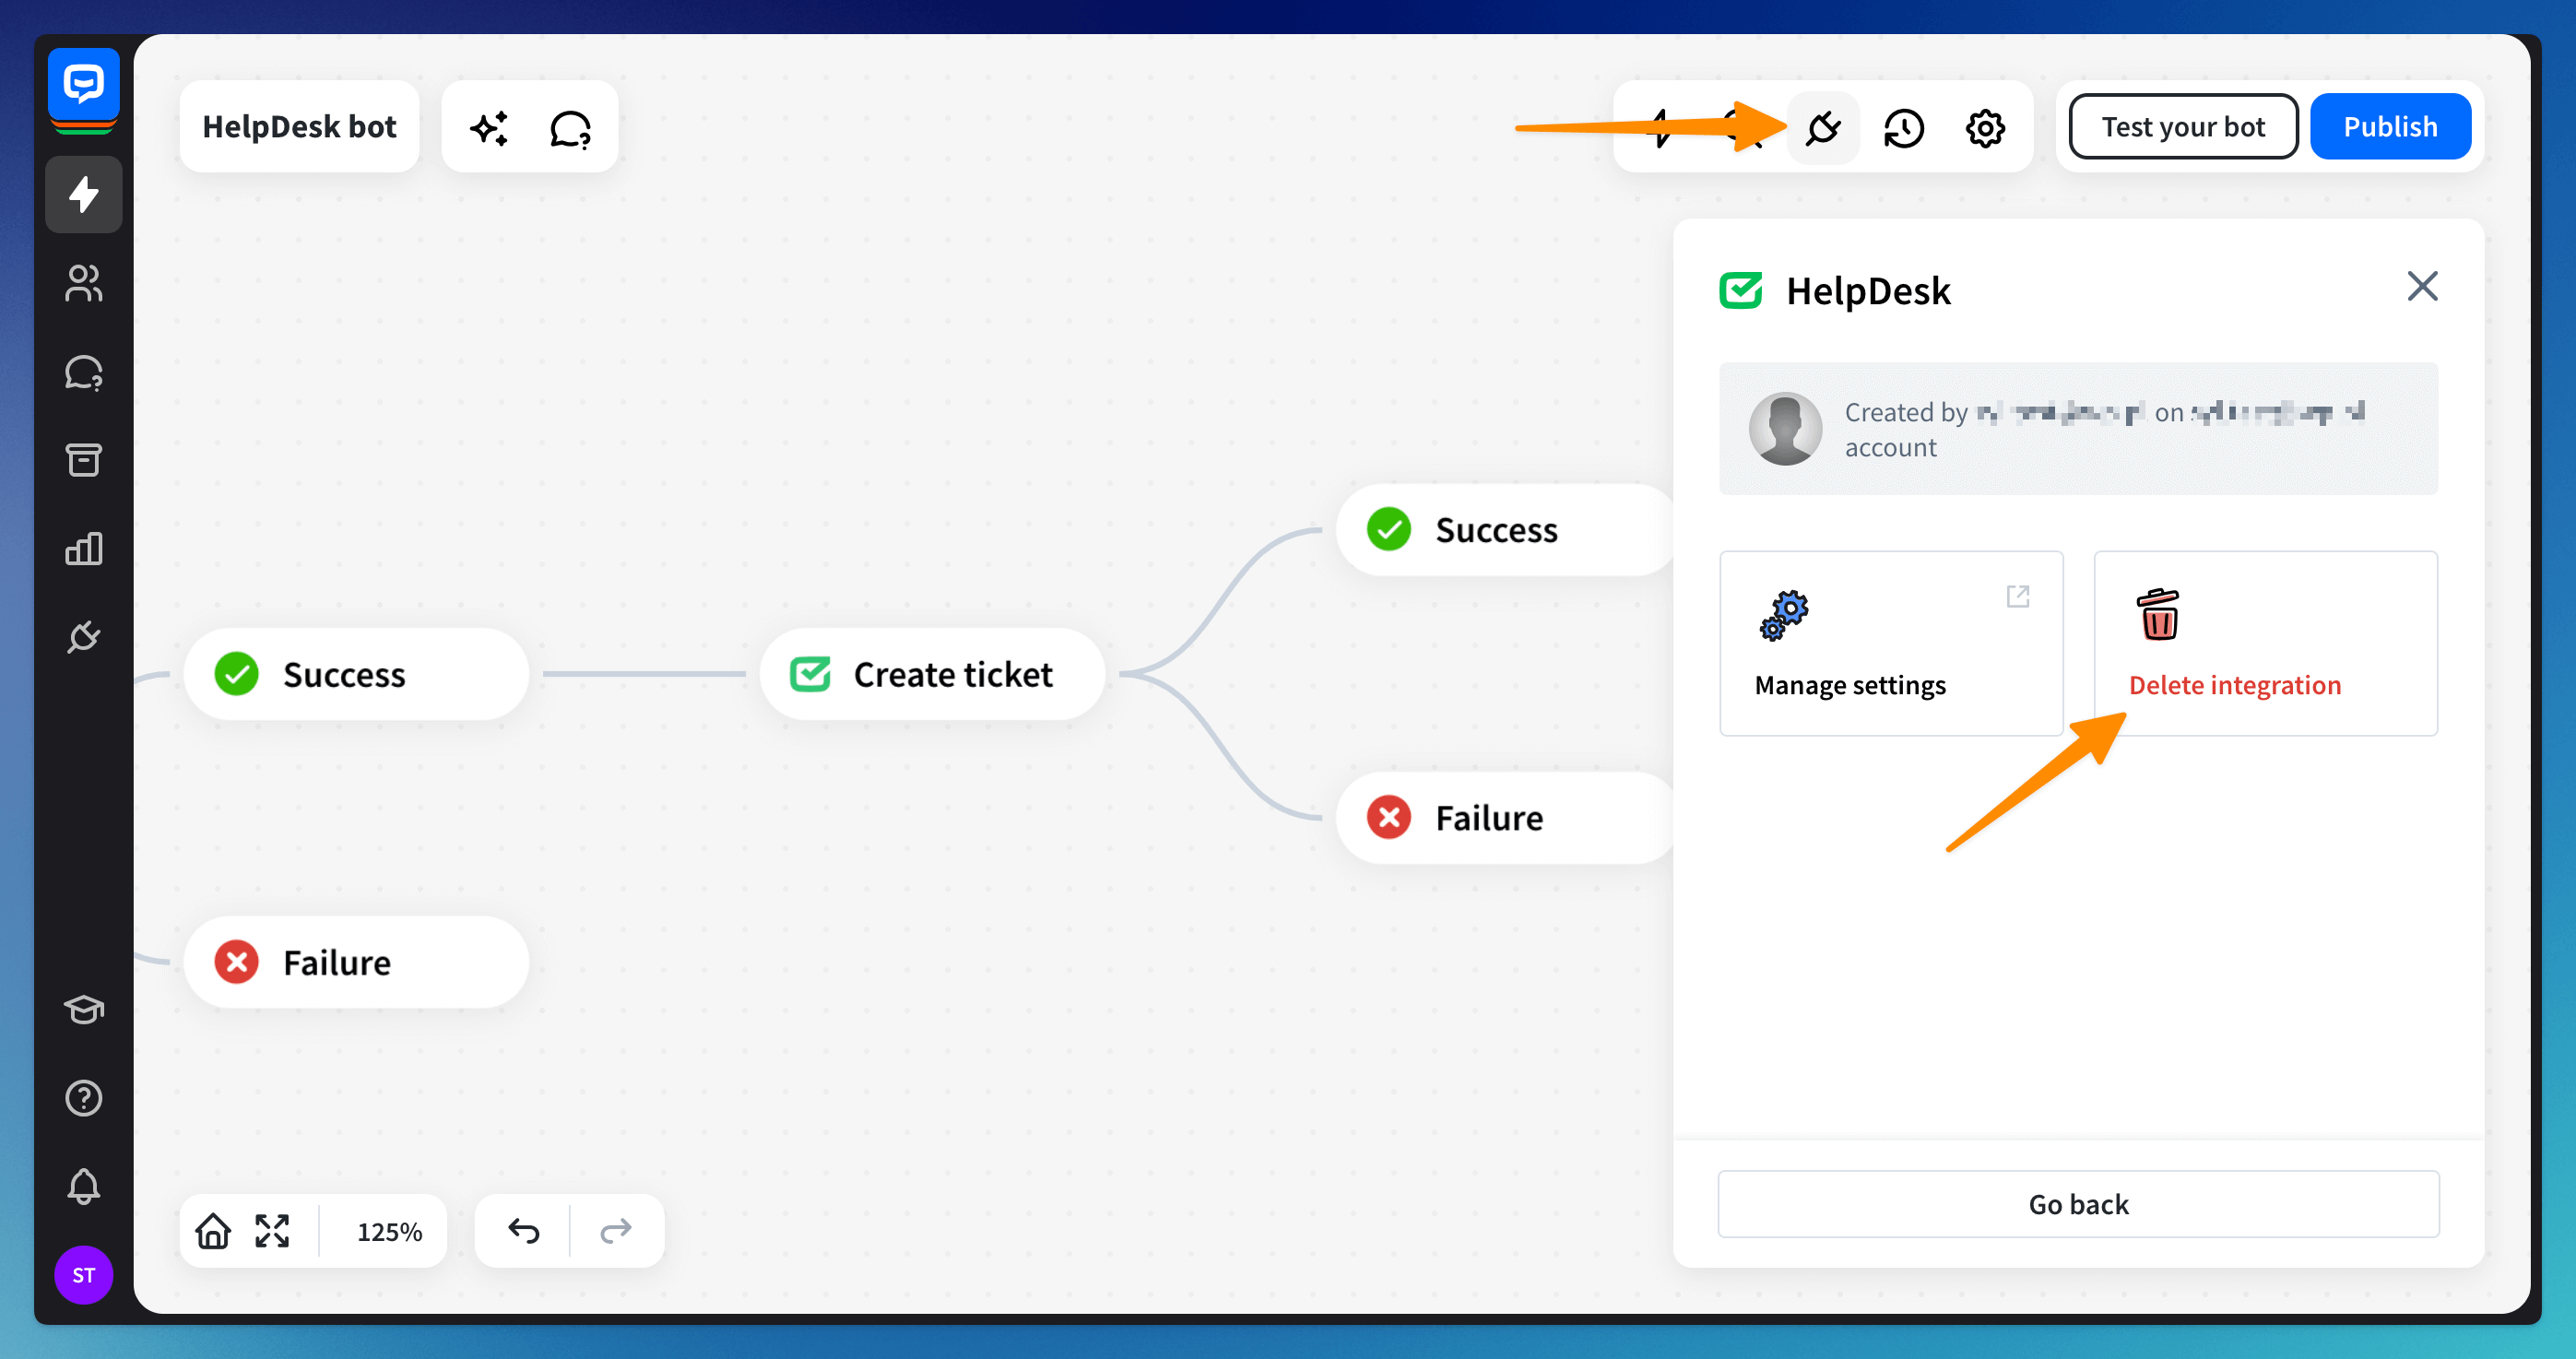
How to delete the HelpDesk integration
To permanently delete the integration from the bot and stop creating tickets, go to the Integrations panel, choose the integration from the list, and select the Delete integration button. Confirm the action.
 If you start creating tickets again, you must install the integration from the beginning.
Read more:
